
The Hidden Anxiety of Moving Your Online Home
You have spent months, maybe even years, building your website traffic. You wrote helpful articles, worked on your search engine optimization, and shared your links with the world. Your daily visitor count is growing, and your Google AdSense earnings are finally looking healthy.
Then, the time comes when you need to change your hosting provider. Perhaps your current host is too slow, or maybe you found a better deal with better support. The mere thought of pointing your domain to the new server makes your palms sweat.
What if your website goes offline for hours? What if Google tries to crawl your site, finds a blank page, and drops your rankings overnight?
This is a very real fear that keeps many website owners awake at night. A single wrong click in your domain settings can cause your website to disappear from the internet. When your site goes down, you lose valuable visitors, sales, and the trust of your audience.
But here is some good news: you do not have to go through this stressful experience. It is entirely possible to link your domain to a new server with absolutely zero downtime. Let us look at how you can make this transition so smooth that your visitors will never even notice a change.
I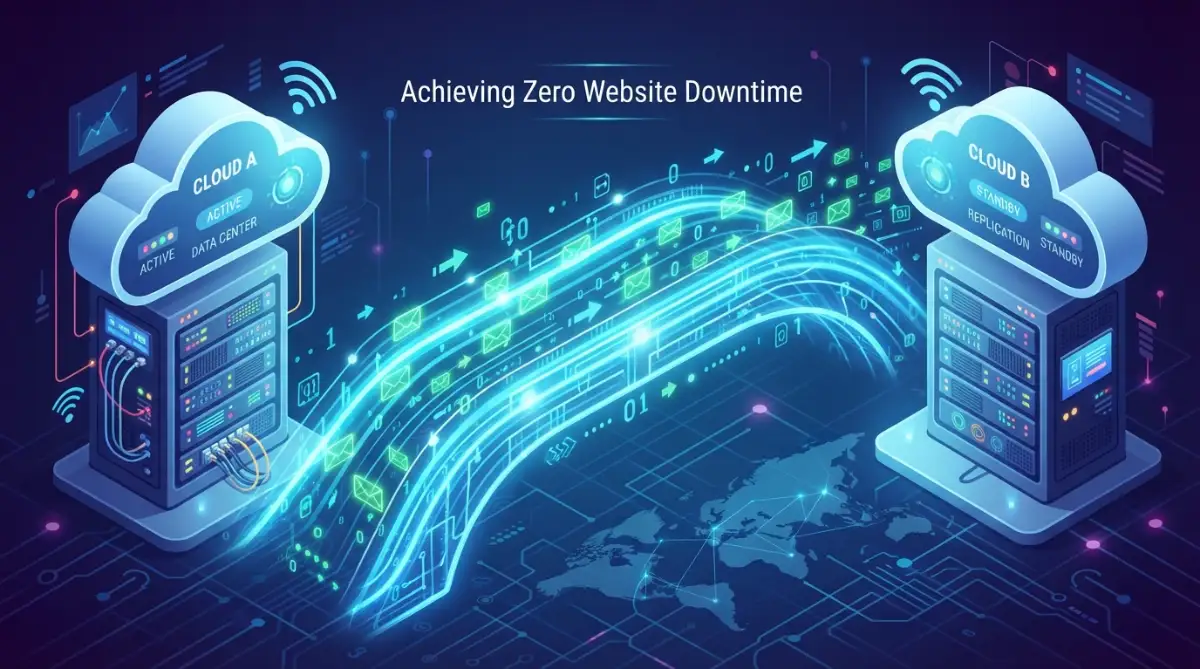
Understanding the Postal System of the Internet
Before we touch any settings, we need to understand how domain names find their files. This knowledge will help you make decisions with confidence during the move.
How Does DNS Work?
Think of your domain name as a physical mailing address. Your hosting server is the actual house where all your website files, images, and databases live.
When someone types your domain into a browser, their computer does not automatically know where your files are. It has to ask a giant digital directory called the Domain Name System, or DNS.
The DNS looks up your domain and matches it with your server's IP address, which is a long string of numbers. Once it finds the matching numbers, it connects the user to your website.
Why Traffic Usually Drops During a Move
When you move to a new host, your new server will have a different IP address. If you change your domain settings suddenly, the old address is still saved in many routers around the world.
Some of your visitors will get directed to the new server, while others will be sent to the old server. If your new server is not fully set up yet, those visitors will see an error page.
This mismatch is what causes downtime and hurts your search engine rankings. To prevent this, we must prepare both servers to work together during the transition.
Setting Up Your New Server Behind the Scenes
The first golden rule of a safe migration is to never touch your domain settings until your new server is ready. You must build the new house completely before you hand over the keys.
Copying Your Website Files and Database
Your new hosting server must contain an exact replica of your website. This includes all your blog posts, theme settings, plugins, media uploads, and database tables.
Most modern hosting companies offer free migration services for new customers. If they do, take advantage of this service and let their experts copy your site.
If you are doing it yourself, you can use popular backup plugins or manual export tools. The goal is to make sure the site on the new server looks and behaves exactly like the live one.
Keeping the Old Site Fully Live
Do not delete anything from your old hosting provider yet. Both your old site and your new site must run side by side during this process.
As long as the old site remains active, visitors will still find your content even if their internet provider is slow to update. This is your primary safety net against traffic loss.
Adjusting Your Safety Net: The Power of TTL Settings
Now, we will explore a small but highly effective trick that professional network administrators use to prevent downtime. It all comes down to three letters: TTL.
What is TTL and Why Does It Matter?
TTL stands for Time to Live. It is a setting in your DNS records that tells internet providers how long they should save your website's IP address in their memory.
For example, if your TTL is set to 86,400 seconds, that means web browsers will only check for updates once every 24 hours.
If you change your server IP address with a high TTL, it can take a full day for the change to reach everyone. During those 24 hours, many of your visitors will experience errors.
How to Lower Your TTL Before the Switch
To avoid this delay, log into your current domain registrar or DNS manager. Look for your domain's DNS zone editor and find the TTL values for your main records.
Change the TTL value from its default high number down to 300 seconds, which is equal to five minutes.
You must make this change at least one full day before you plan to point your domain to the new server.
This gives the internet system enough time to register the new, shorter update interval. Once this is done, any future changes you make will spread across the globe in just five minutes.
Testing Your New Server Secretly
How do you know if your copied website actually works on the new server if your domain is still pointing to the old one? You do not want to guess and hope for the best.
The Local Hosts File Trick
You can trick your own computer into loading your website from the new server while the rest of the world still sees the old one.
To do this, you will need to edit a hidden system file on your computer called the "hosts" file.
First, get the IP address of your new hosting server from your new host's dashboard.
Next, open your computer's hosts file using a plain text editor with administrator permissions.
Add a new line at the very bottom of the file. Write your new server's IP address, press the spacebar, and then type your domain name.
Save the file and open your favorite web browser. When you visit your website now, your computer will load it directly from the new server.
What to Check During Your Secret Test
Now that you are viewing the site on your new server, you should test it thoroughly.
Click through your main menus and open several blog posts to make sure they load correctly.
Try submitting a contact form to see if your emails are sent and received without issues.
Check your images and make sure none of them appear as broken link icons.
If everything works perfectly, go back to your hosts file, delete the line you added, and save it. Your computer will return to viewing the live public site.
Making the Switch: Choosing Your Connection Method
Once you are fully confident that your new server is working, you are ready to point your domain. There are two main ways to do this, and each has its own benefits.
Method One: Changing Your Nameservers
Changing your nameservers is the most common method for connecting a domain. It hands over the complete control of your DNS records to your new hosting company.
Your new host will provide you with two or more nameserver addresses. They usually look like text lines with the host's name in them.
Log into your domain registrar, find the nameserver settings, and replace the old addresses with the new ones.
This method is incredibly easy because your new host will automatically configure all the technical settings for your website.
Method Two: Updating Your A Record
If you have custom email addresses set up through an external service like Google Workspace, changing your nameservers can sometimes disrupt your email flow.
In this case, it is much safer to keep your nameservers where they are and only update your "A Record."
Go to your current DNS manager and locate the A Record, which is represented by an "@" symbol.
Replace the old IP address with the new server IP address provided by your new hosting company.
This method keeps your email settings completely untouched while directing all your web traffic to the new server.
Keeping Your Search Engine Rankings Safe with SSL
Search engines like Google place a very high value on website security. If your website loses its SSL certificate during the migration, your traffic will plummet.
Pre-Installing Your SSL Certificate
When a browser connects to a secure website, it looks for an active SSL certificate. If the certificate is missing, the user is greeted with a bright red warning page.
To prevent this, ask your new hosting provider to install an SSL certificate on your new server before you make the DNS switch.
Many hosts allow you to generate a free Let's Encrypt SSL certificate for your staging site or domain pre-emptively.
This ensures that when your domain finally points to the new IP address, the secure connection remains fully active.
The Golden Waiting Period: What to Do Next
Once you have updated your DNS settings, the transition process begins. Even with a low TTL, you must be patient and follow a few simple steps.
Keep Both Hosting Plans Active
Do not cancel your old hosting plan immediately after changing your settings.
Some internet providers in remote parts of the world can take up to 48 hours to update their systems.
By keeping both your old and new hosting servers online, you ensure that no visitor will experience a broken page.
If their provider is fast, they will see the new server. If their provider is slow, they will still see the old server.
After three to four days, you can check your visitor logs. When you see that all traffic has shifted to the new server, it is safe to close your old account.
Avoid Making Major Site Updates
During this waiting period, try to avoid writing new blog posts or making major design changes.
If you publish a new article while the DNS is still updating, some users will see it on the new server, while others will not find it on the old one.
Keep your website static for a few days until the move is completely finished across the entire globe.
Tracking Your Traffic After the Move
Once the transition is complete, you should verify that everything is running as expected.
Monitoring Search Console and Analytics
Log into your Google Search Console account and check the "Crawl" reports over the next few days.
If Google encounters any network errors or server issues while trying to reach your new host, they will show up there.
Open your real-time website analytics to verify that users are successfully navigating your pages.
If you see active readers reading your articles, you can smile knowing that your migration was a complete success.
Pro-Level Strategies to Protect Your Website Performance After the Switch
Moving your domain to a new server is only half the battle won. To keep your website healthy for many years, you need to use some advanced strategies that professionals use.
Why a Cloud CDN is Your Best Friend During Migration
A Content Delivery Network, or CDN, is a great tool when you are changing hosts. It saves static copies of your website pages on servers all over the world.
If you use a CDN, your visitors do not have to wait for your new DNS settings to update. The CDN will show them the saved copy of your site from its own server.
This prevents any possibility of a blank screen while the physical servers talk to each other. You can learn more about how global servers handle data traffic by visiting the official research pages of the Internet Engineering Task Force.
Managing Your Custom Email Records Without Losses
Many website owners forget about their business email accounts during a migration. If you use a custom address like hello@yourdomain.com, it can stop working if you are not careful.
Your email routes are controlled by MX Records in your DNS dashboard. If you change your nameservers, your old email settings might get wiped out.
To keep receiving messages, write down your old MX records before you make the change. Then, copy those exact same records into your new hosting account panel.
Keeping Your Website Speed Top Notch
Sometimes, a new server might not perform as well as you expected. If you find that your why is my premium hosting slow after the transition, you must look for hidden server issues right away.
Make sure your new host uses the latest version of PHP and has proper server-side caching turned on. If the server is slow, your search engine rankings will suffer, even if your domain connection was perfect.
Understanding how your server handles resources is a lot like learning how solar panels work on cloudy days. Both require you to look past the surface to find out why performance is dropping.
Cleaning Up Your Old DNS Zone Files
Once your domain is successfully pointed, your DNS records can become a bit messy. You might find old verification codes, forgotten subdomains, and outdated TXT records.
Take some time to delete any records that belong to services you do not use anymore. Keeping your DNS zone file clean makes it load slightly faster for global systems.
A clean domain directory also prevents security risks, such as domain hijacking. This is where hackers take advantage of old, pointed records to claim your subdomains.

The Heartbreaking Mistakes That Can Silent-Kill Your Search Traffic
Even smart webmasters make mistakes when they are in a hurry to move servers. These errors can cause silent damage that you might not notice until your traffic starts to drop.
Deleting Your Old Hosting Account Too Quickly
The biggest mistake you can make is canceling your old hosting subscription the moment you click "Save" on your new DNS settings. This is a recipe for a total website blackout.
As we discussed, DNS changes do not happen instantly for everyone on the planet. Some internet providers might still direct your users to the old server for a couple of days.
If you delete your old files immediately, those visitors will get a painful "Server Not Found" error. You can verify your active nameservers around the world using the public ICANN Lookup Tool before making any major changes.
Forgetting to Update Database Links
When you move to a new server, some of your database paths might change. If your system still tries to load images from the old server path, your pages will look broken.
This is especially common with security setups and media library folders. Visitors will see missing image icons, and your site's bounce rate will rise rapidly.
Just like avoiding quiet solar panel placement mistakes to get the best energy output, you must place your database paths carefully to keep your site running smoothly. Always run a search-and-replace command in your database to update all your file paths to the new server layout.
Ignoring the Permalinks Structure
Sometimes, a new server has different security rules or redirect configurations. If your URL structure changes even slightly, your old links will stop working.
This means search engine bots will find dead ends when they try to crawl your top-performing articles. You will lose the rankings you worked so hard to build over the years.
To prevent this, log into your new dashboard and double-check your redirect settings. Make sure every single old URL redirects to the exact same spot on the new server.
Skipping the Backup Phase
Preparing for a server move is like learning how to pack for months of travel, where tight organization saves you from major headaches. If you do not create a complete copy of your site before moving, you risk losing everything.
Files can get corrupted during download, and databases can break during upload. If you do not have a local backup, you might not be able to restore your site.
Always download a full, working backup to your personal computer before starting any technical work. This ensures you can always start over if something goes wrong.
Your Step-by-Step Action Plan for a Safe Transition
Now you have all the knowledge needed to complete this task like a professional web developer. Let us put everything together into a simple plan you can follow.
The Final Pre-Flight Checklist
Before you make the final DNS change, take a deep breath and run through this list.
- Confirm your new server has an active copy of your website files.
- Verify that your database is fully imported and has no errors.
- Lower your TTL settings to 300 seconds and wait at least 24 hours.
- Install an SSL certificate on your new hosting server.
- Double-check your custom email settings to protect your inbox.
If you can check off every item on this list, you are completely ready to point your domain name.
A Quick Word from the Hosting Expert
Changing your website's home does not have to be a stressful experience. With the right preparation, you can move your domain without losing a single page view or search ranking.
Do not rush the process, and always keep your old server active for at least three days. This simple safety margin is what separates professional migrations from stressful failures.
Go ahead and take control of your domain migration today with total peace of mind. Your website and your visitors will thank you for the smooth transition.
Disclaimer
This article is for informational purposes only. While we make every effort to provide accurate technical advice, server configurations can vary. Always consult with your hosting provider's support team before making major changes to your domain settings or database files.